
So, of course when it came to ideas for revamping the powder room's counter top (new vanity or real granite is out of our budget right now), I consulted Pinterest.
First idea was to mix, pour & spread a concrete mixture on top for an industrial look. Until my husband reminded me that I had absolutely no cement mixing skills. Touche. Next?
Next, I found a faux granite kit at Lowes. After staring at the box for a good 10 minutes....it wasn't exactly what I was looking for, and I had no idea how it would turn out. Meh.
Finally, I began pinning idea after idea on how to create a faux granite look using acrylic paint and sealers. Hmm....I can do this!
Shopping List:

- blue painters tape

- Minwax Polycrylic Protective Finish- Clear Satin


- Artist's Loft (about $3.99 at Michael's)- unbleached titanium, raw umber & mars black
- Martha Stewart Metallic craft paint in copper (about $3 at Michael's)

- various sea sponges. You can either get a big one to cut up, or a pack of little ones. Or both, like I did. For no good reason.
- paint brush & those sponge brushes w/ the stick in them for the Shellac
Okay, here we go!!!!!
Steps:
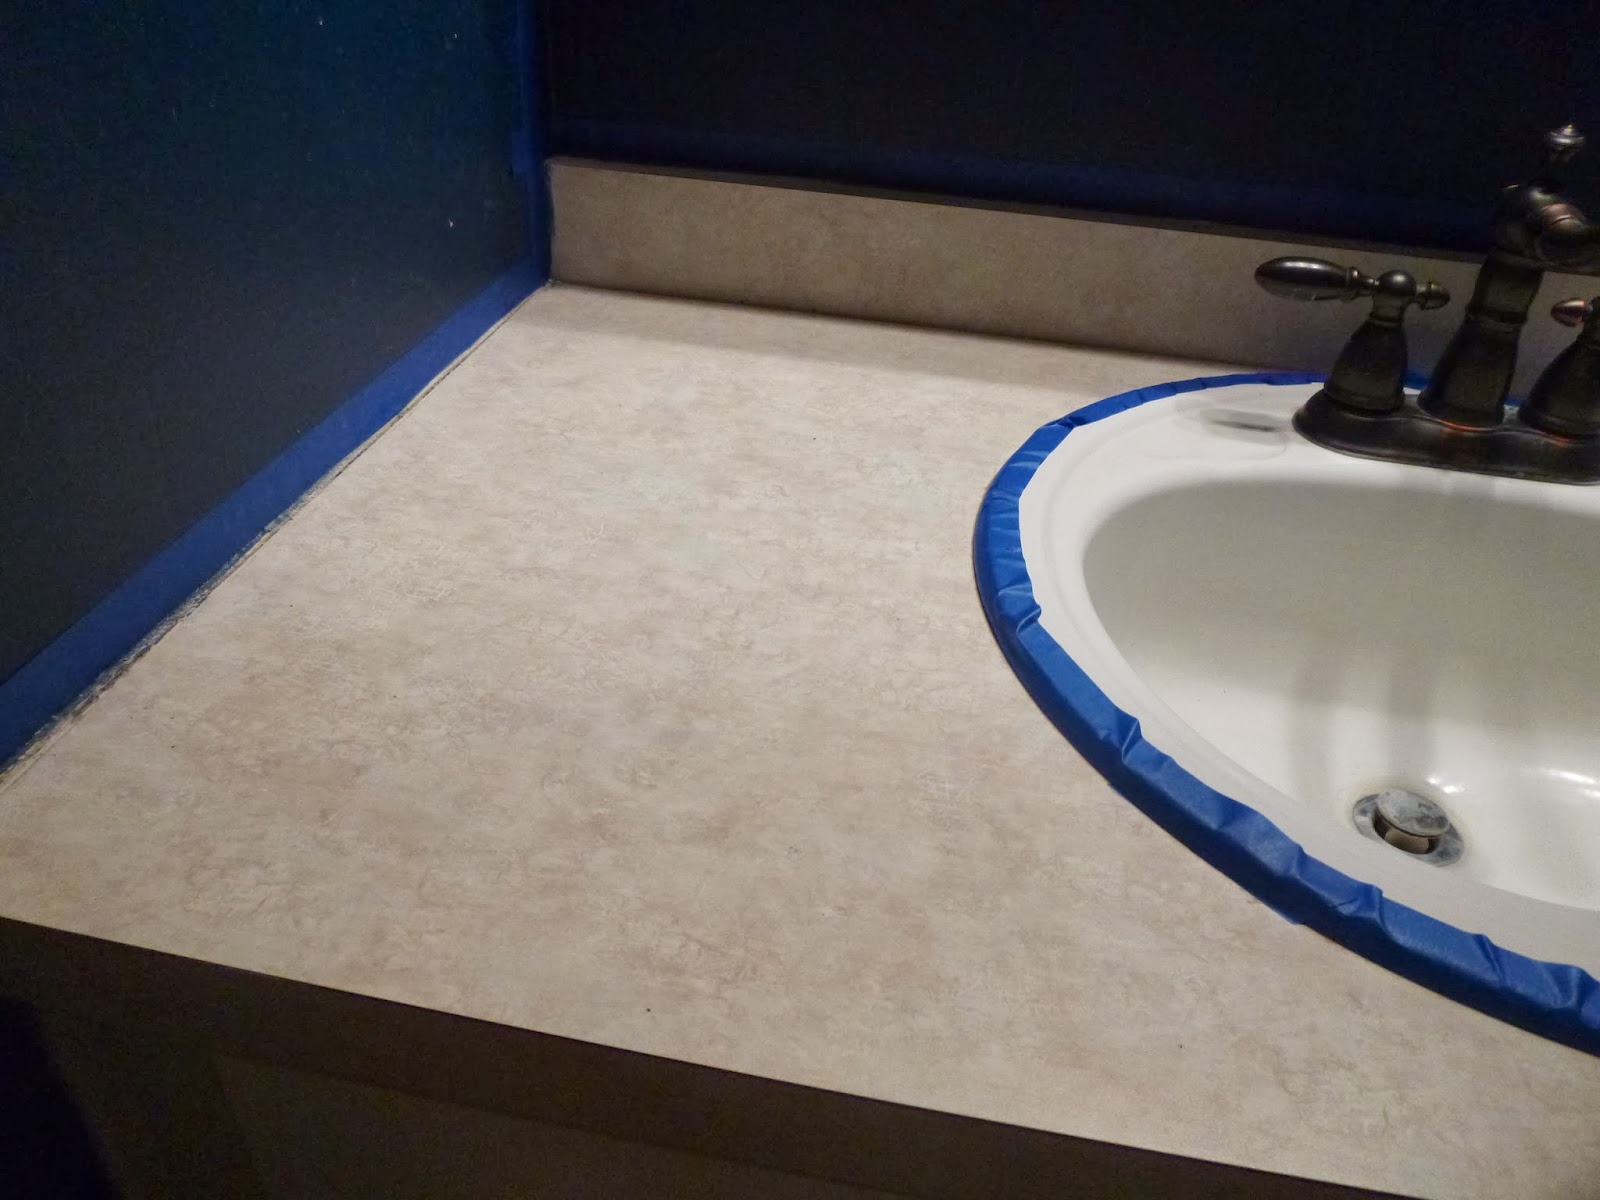
1. Tape off edges of counter top and sink (if there is one....duh. Don't like, install a sink if you don't have one and tape it off.)

4. Clean off counter w/ damp paper towel & dry. Using your paintbrush, paint a thin coat of primer all over area that will be "granited". Let dry for about a half hour to an hour.
5. Get yo' paint and sponges ready. I am fancy and used old birthday cake plates for squirting my paint and working with it. Start with your darkest color (in my case....mars black). Using a piece of your sea sponge, dab the darkest color all over the countertop. Leave some white of the primer peaking through. Let dry about an hour, and repeat with next darkest color. Start filling in those white spots. Make sure you rotate your sponge or use various sizes of sponge, or it will look too much like "sponge shape" and not granite-pattern. Know what I mean?


6. By this time, it's nightfall. You're gonna want to go ahead and pour yourself a gigantic glass of red wine and take another selfie. It helps to build artistic confidence.

7. Pick your next color, and repeat above step. Don't make it look too "patterny", but also be careful that you're creating the same texture/shades all over and not just in one spot (*the wine may be making this step hard.)
8. Dab your metallic (if you are using it) in there, but not too heavily. At this point, I thought it looked too layered (black, brown, cream, copper), so I squirted all the colors on one plate and dabbed a fresh sponge in the whole she-bang and went over it.

9. The hardest part is knowing when to stop. Does it look like granite? Is the color/shade consistent all over the counter? Is it too light or too dark? This is the artistic part. Keep on dabbin' (and changing sponges so the sponge doesn't get too saturated) until you're done. (*this may require a second bottle of red.)

10. Once you like the "granite" you have created, you gotta put that brush & glass down and say, "I like it. And the King of Spain is not coming to my house anytime soon. This is pretty much for husband and I to look at as we flip through the pages of Southern Living or Muscle & Fitness magazines. Put the sponge down....and back away. Wait about 1-2 hours for all acrylic paint to dry, then apply a coat of the Polycrylic sealer. Let dry a couple of hours.
11. After the polycrylic is dry, the final coat will be the Shellac. WARNING: use a sponge brush (w/ the stick coming out of it) or another really cheap brush to put the Shellac on. One that you plan on just throwing out, because....in case you didn't know (like moi), Shellac + water = instant death of paint brush. Say goodbye. It basically turns your bristles into a fossil. Lesson learned.
12. The Shellac takes a long time to dry. I applied a second coat (to make it super glossy!!) after 24 hours. I noticed AFTER I put the Shellac on that the sponged-on acrylic paint looked a bit textured. Like, unpolished granite. I kind of like this. I enjoy texture. I like to sensually rub my hand on it now after I wash my hands. However, if you want a more smooth effect, you could try sanding the acrylic before you apply the Shellac. Not sure how this would work out?
13. Finished! After all layers are dry, carefully peel off tape and enjoy! Bravo!

Mini makeover (almost) complete.

Comments
Post a Comment